Author’s Note: This is a rewrite of an older post. My approach to teaching a horse to maintain gaits on his own has changed, so I have included a new training exercise to address this issue better. The original exercise is still valid. However, it is more targeted towards maintaining gaits on a circle. This exercise is more applicable to maintaining gaits in any scenario. It is up to you which one you choose. View Original Post: Teaching Your Horse to Take Responsibility for His Own Feet
The last few articles have been on the topic of the dangers of preempting mistakes and why it is detrimental to your horse’s training. However, that discussion raises the question of how we teach our horses to take responsibility for their feet if we are not allowed to preempt mistakes.
It is important to remember that turning your horse out on a loose rein and just expecting him to take responsibility for his own feet will not end well. Just as with everything else, your horse needs to be systematically taught how to take responsibility.
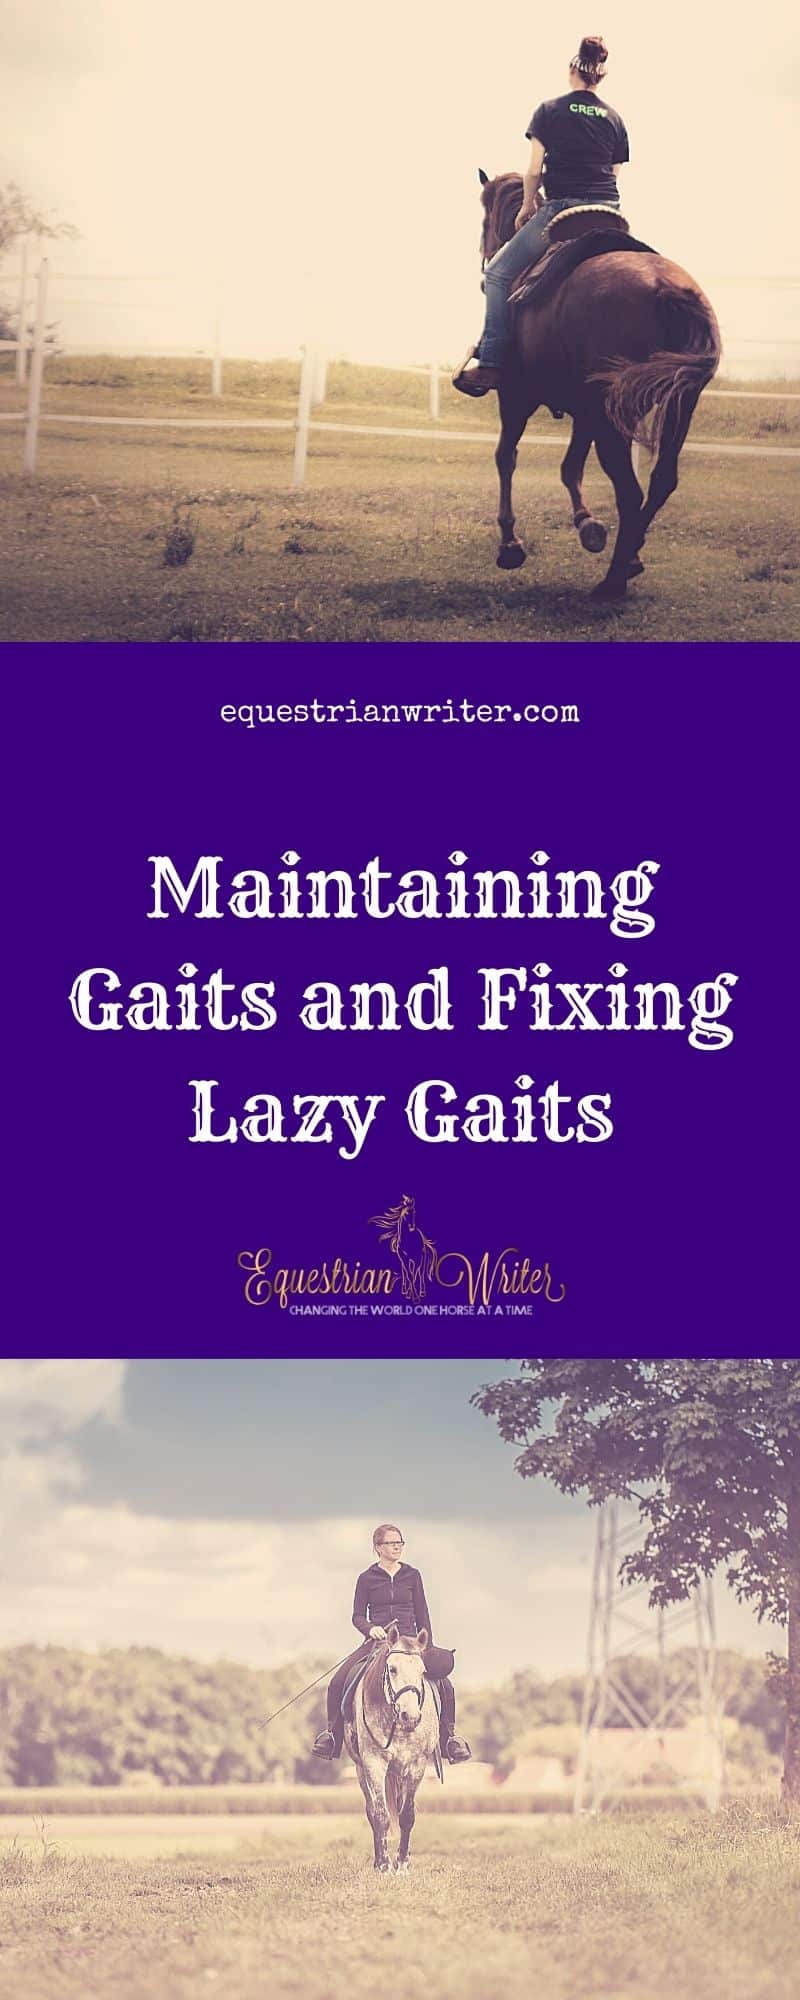
Taking Responsibility for Maintaining Gaits
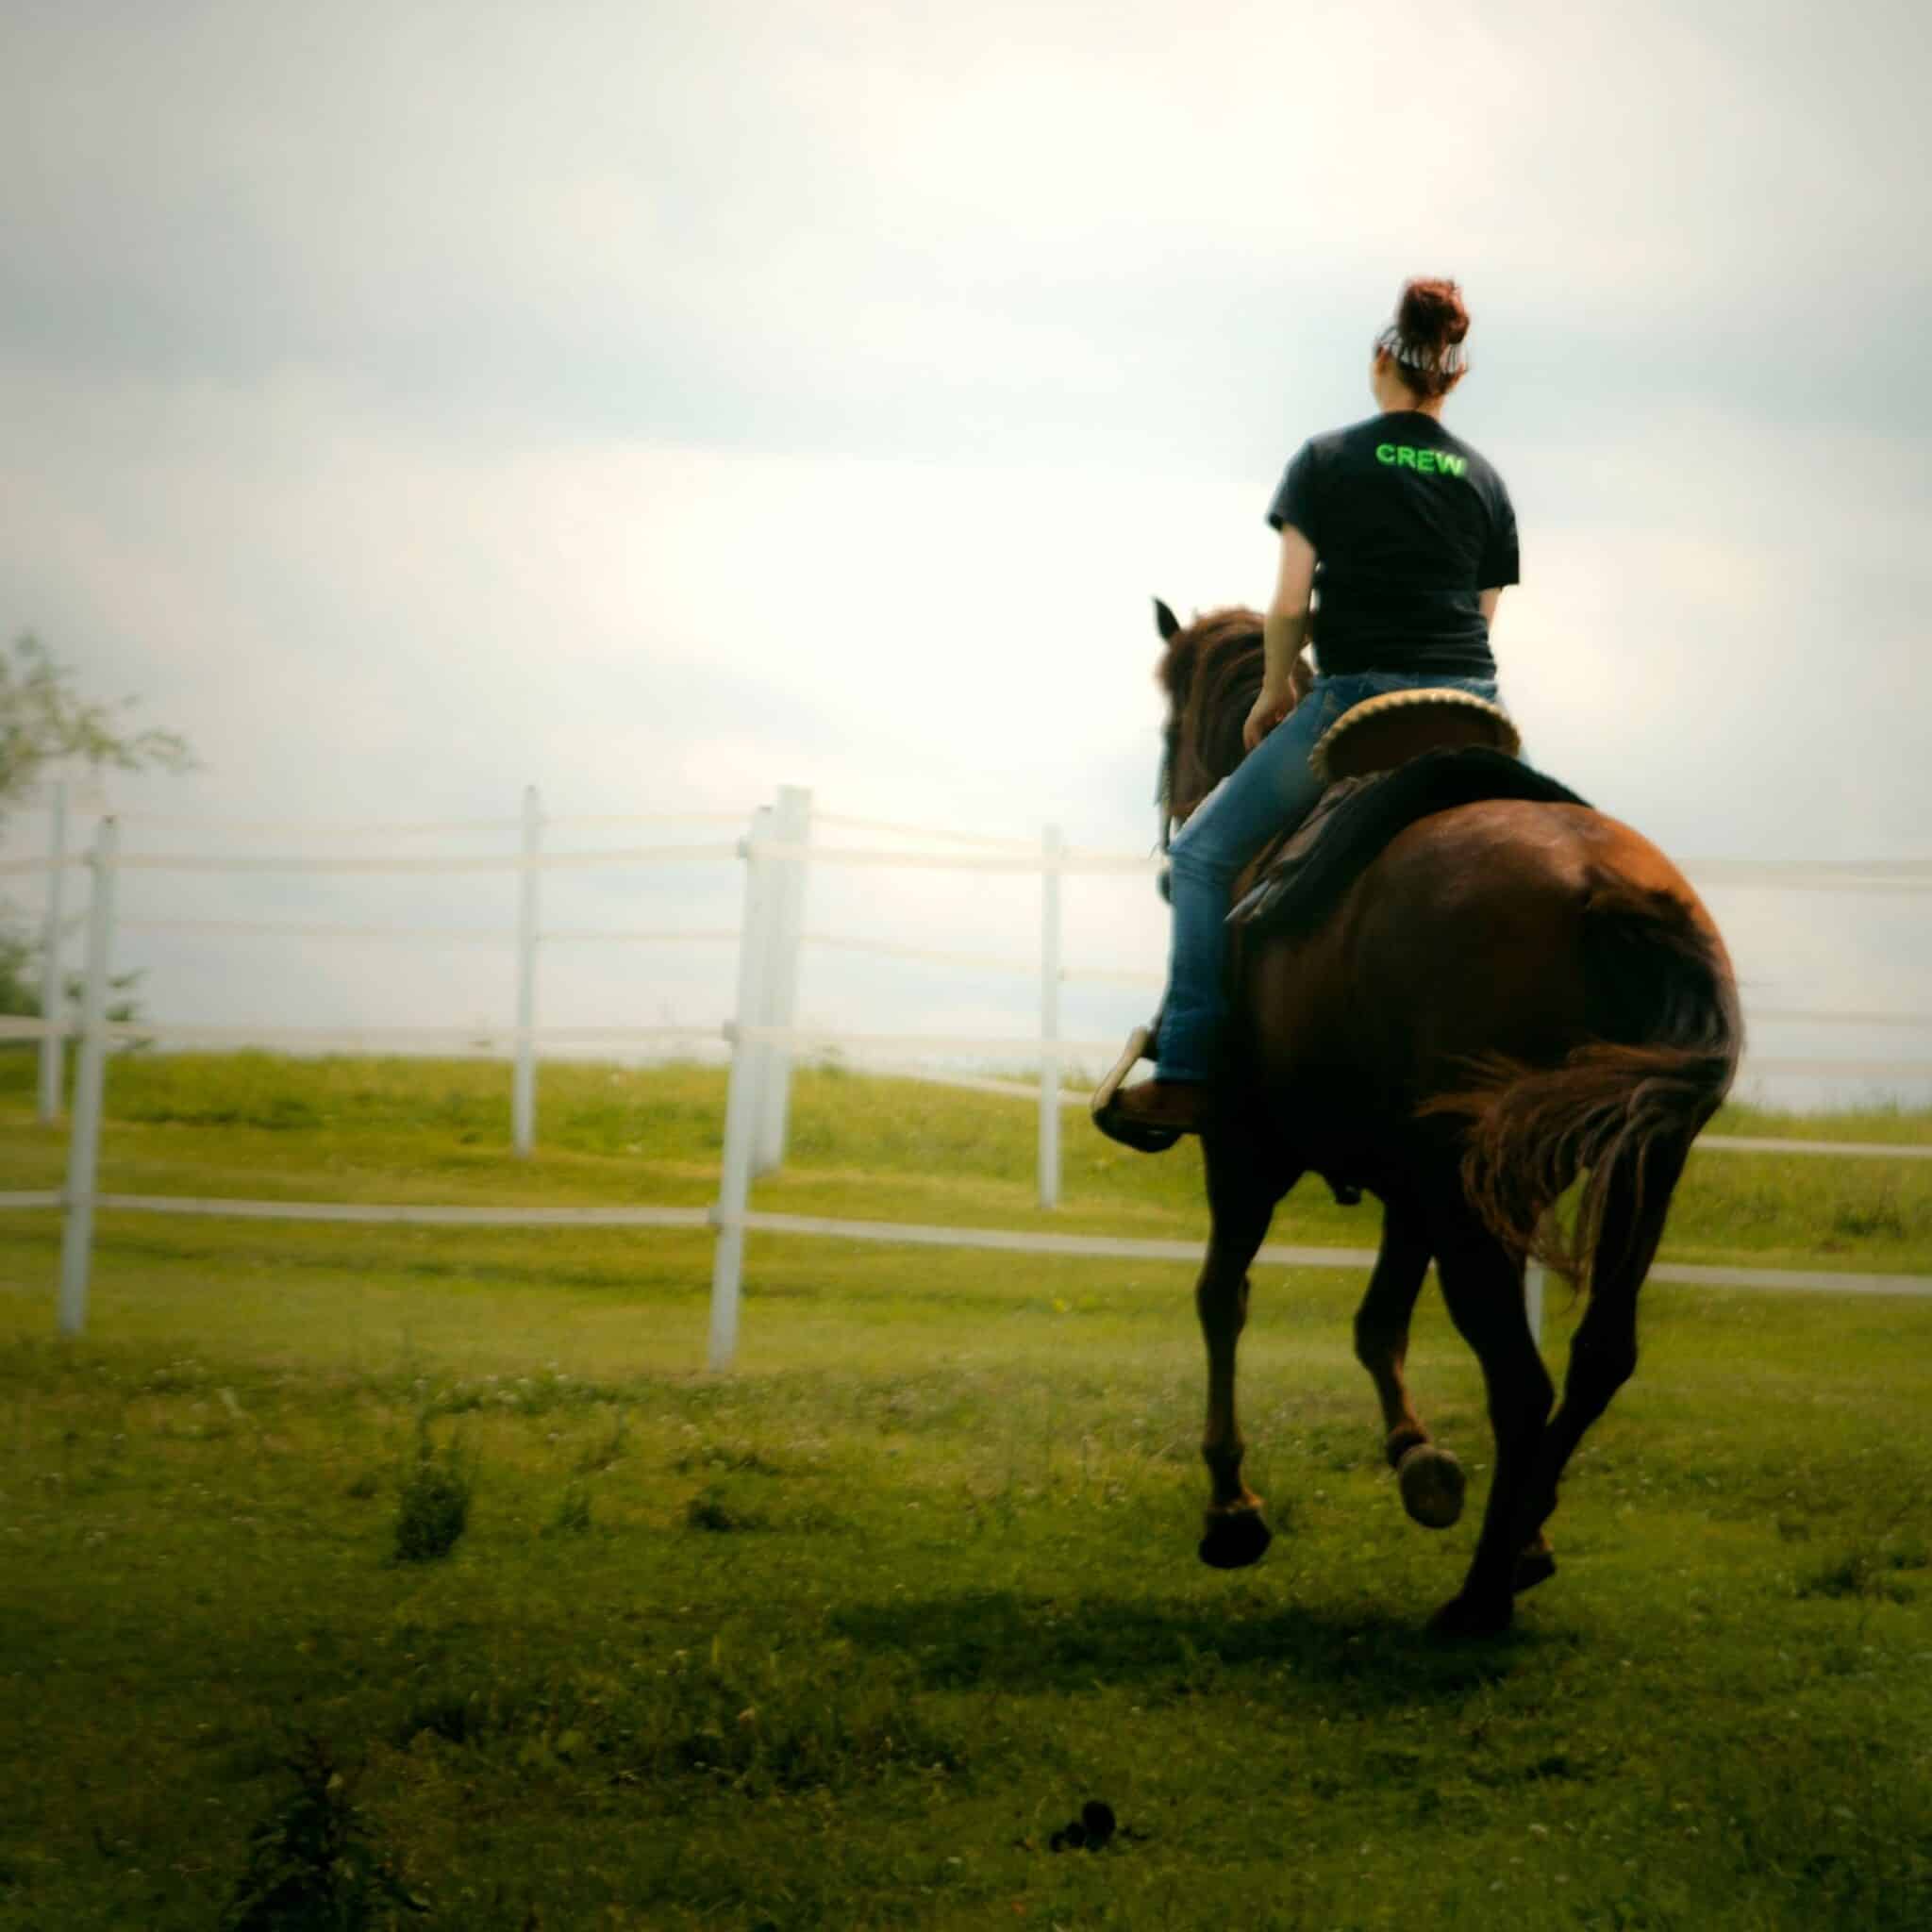
This is the biggest area where many horses fail to take responsibility for their own feet. A truly broke horse will move into the gait you cue for and maintain gait until you tell him otherwise. This is the key: staying there. Many people focus some much on the transitions from one gait to another — which is also very important — but then they run into the problem that their horse has beautiful transitions but won’t stay in the gait once they get him there. Staying in the gait often takes as much training as transitioning into the gait. Now, this may seem a bit silly to some people. After all, he’s cantering! He should just keep cantering! It makes sense to us, but that’s not how horses work. They are inherently lazy creatures. If they see an opening to get out of work, they will take it.
An Exercise in Responsibility
Maintaining Gaits: Prerequisites
1. walk
2. trot
3. canter
4. ability to ride on a loose rein without steering in a fenced area
5. ability to transition between gaits without bucking/bolting/rearing/etc. (the transitions don’t have to be pretty or correct, they just have to be functional)
6. a safe riding area (preferably fenced in, even if it’s just a field) where you feel comfortable turning your horse loose on a loose rein and not steering for most of the exercise
Maintaining Gaits: Teaching Stage
This exercise works best if you start at the lope. However, you can start at any gait you wish. But, for the purposes of this tutorial, we’ll assume that you are starting at a lope.
Step 1: Pick up the lope. Leave the horse on a loose rein. Do not steer or otherwise interfere with the horse unless it becomes a safety issue.
Step 2: As soon as the horse breaks gait down to the trot, immediately push him back up into the lope. Really hustle his feet and get him going faster than you would normally want him to go at the lope. Once he’s loping again, turn him loose and let him lope in peace without steering or interfering in any way.
Step 3: Rinse and repeat until he starts getting the hint that maybe breaking gait isn’t such a good idea.
Step 4: Once he starts consistently holding the lope on his own, bring him back down to the walk. Put him on a loose rein and let him walk around to catch his breath. Don’t nag, bother, or interfere with him in any way. Once he has his air back and is properly cooled down, get off and end the session.
Step 5: Once he’s mastered maintaining his gait at the lope, you can move to the trot. You will often find that, if you did your homework correctly at the lope, they catch on quicker at the trot. If the horse breaks from the trot, push him up into the lope for a few strides before allowing him to come back to the trot. He’ll soon figure out that trotting is easier.
Step 6: Once you have mastered the trot, move on to the walk. If the horse breaks from the walk or even gets particularly lazy in the walk, push him up into the trot then let him come down into the walk at the speed you want.
Author’s Note: I am planning to film a demo of this exercise. Unfortunately, my riding area is currently buried under several inches of snow and ice, making the footing unsafe for this type of exercise. I will film the demo once the weather clears and the footing is safe to train on again.
Keys to Success
1. This isn’t just about holding the gait itself. This is also a method for correcting lazy gaits. If your horse has a lazy walk, trot, and/or lope, this exercise works the same way. As soon as they slow down too much, overcorrect and hustle their feet faster than you actually want them to go. Then, let them come back down to the speed you are aiming for.
2. Leave him alone as long as he is maintaining the gait you want. As long as he is maintaining gait, do not in any way interfere. We want to make this gait his happy place where no one interferes with him or nags him. No micromanaging! It defeats the entire purpose of the exercise.
3. Escalate the pressure pretty quickly. Always ask him with the lightest of cues first. Squeeze very gently with your thighs. As soon as he doesn’t respond, add a verbal cue (kiss, cluck, etc) and squeeze much harder. If he still doesn’t respond, start tapping with the dressage whip. When I say tapping, I mean tapping, not hitting. Start out lightly tapping, but each tap should get firmer until he responds. So it’s; tap, Tap, TAP, TAP. This faster escalation works much better than the slower escalations I’ve done in the past which follow the pattern of; tap, tap, tap, Tap, Tap, Tap, TAP, TAP, TAP. I have found that escalate the pressure quickly, but firmly, works better. Don’t go crazy. Be firm, but not harsh. The moment he responds, take away all pressure.
Common Horse Mistakes
1. Getting sluggish
Solution: Make sure your horse is fit enough for this exercise. Teaching your horse to maintain his gait requires a lot of transitions. Do not push your horse beyond what he is capable of doing. If he tires out after only 3 or 4 transitions, you haven’t really made any progress. You must keep going until he starts grasping the concept, which requires him to bit fit enough to complete the exercise. This works best at the lope. However, if your horse isn’t fit enough to complete the exercise at the lope, start at a walk or trot.
Common Rider Mistakes
1. Micromanaging!
Solution: Focus on keeping your hands and legs quiet. Go to one hand if you are comfortable with it. The less hands you have on the reins, the harder it is to micromanage.
2. Nagging
Solution: If you have to keep nagging your horse, you’re not escalating the pressure fast enough and firm enough. You’re not begging your horse to move. You’re telling him that he is going to move when he is told to. As soon as he complies, he will be left alone. This isn’t rocket science for your horse. When properly applied, this exercise gets the point across pretty quickly.


The truth is that we did not know the proposed solution for Nagging, thank you very much.
Greetings!