UPDATE: Scroll down to the bottom of the page for a video demo of releasing the jaw.
Relaxation is the key to collection. However, there is a key component of relaxation that is so often overlooked; the release of the jaw. Relaxation required for true collection starts in the jaw and travels through the poll and spine. This small exercise is just the first step in achieving full-body relaxation.
Prerequisites for Releasing the Jaw
- familiarity with–and acceptance of–a snaffle bit
- the ability to relax even when a small amount of pressure is applied
If your horse tenses up and becomes overly concerned every time you pick up the reins or apply the tiniest amount of pressure (mental or physical), you need to go back to the lunge and practice relaxing with a saddle and bridle on.
Required Materials
- bridle with snaffle bit of your choice (D-ring, o-ring, eggbutt, etc.)
- the reins you are going to ride with
- dressage whip (optional)
Training Exercise
Overview
This exercise is the first step to achieving long-and-low under saddle. It establishes a cue for your horse to release his jaw. It a deceptively simple exercise that takes time, patience and a delicate touch. At this stage, we want to teach the horse to relax the jaw when we vibrate the inside rein. Eventually, it will progress to stretching into contact and achieving long and low with just a subtle vibration of the inside rein. But, for now, we’re just asking for the horse to release the jaw with the lightest of cues.
Using the Proper Equipment
This exercise is done in a standard snaffle bridle. Any basic ring snaffle will do. The key here is ring snaffle. Leverage bits with snaffle mouthpieces are NOT snaffles. (Please see this article on Snaffle Basics if you need more clarification on what is and is not a snaffle bit.) Any standard set of reins should do as well. DO NOT use any sort of draw reins, martingales, tie-downs, or other gadgets or gizmos.
Know Where to Stand to Release the Jaw
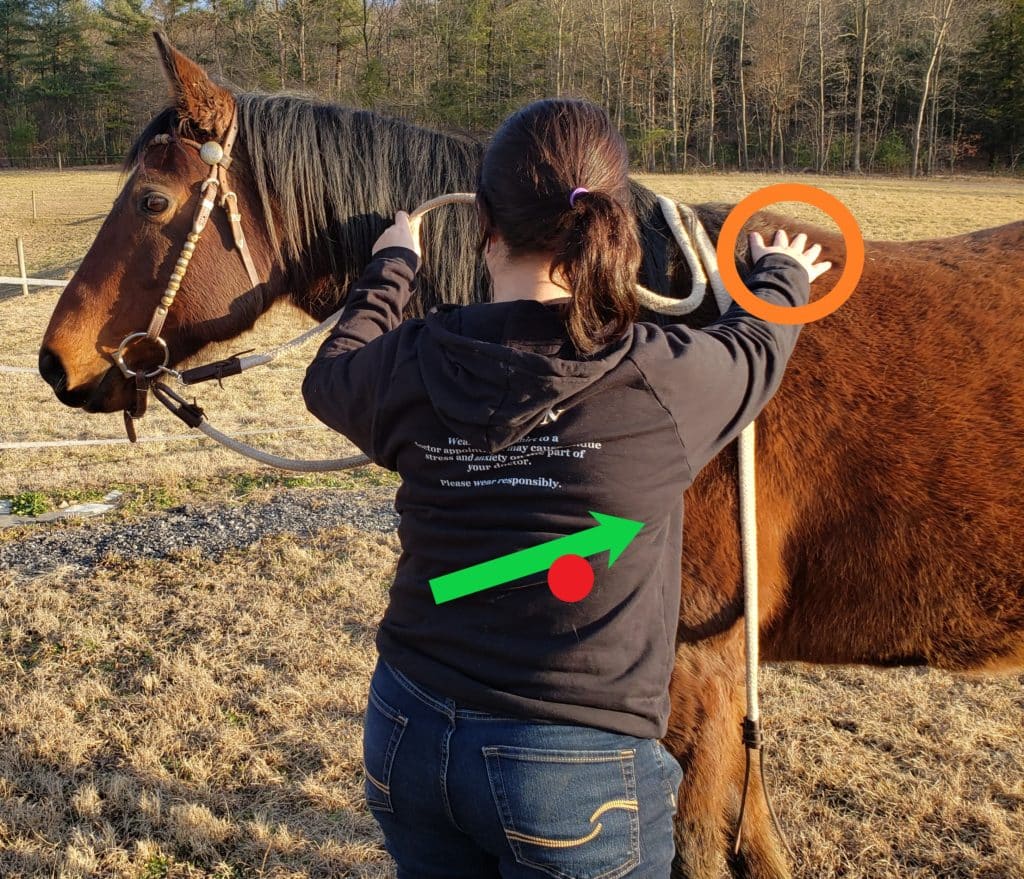
For this exercise, you should be standing next to the horse’s shoulder. To start with, stand square with your shoulders and hips facing your horse’s shoulder (Figure A). We’ll refer to this as the “neutral” position. It’s important to stand square with the horse’s shoulder so you’re not accidentally influencing him to step forward or back up. In the figure below, you can see a red dot that marks approximately where the point of the shoulder is in relation to the handler in this position. The green arrow represents the direction of your energy. Your hips decide the direction of your energy. Imagine there is an arrow coming straight out from your belly button. If you keep your hips square, that the direction your energy is traveling in. This energy can be used to influence the horse to move forward or backward. Therefore, if you are standing square with the horse’s shoulder (Figure A), the direction of your energy is perpendicular to the horse’s current position, meaning you are not influencing him to move forward or backward as you ask him to release his jaw.
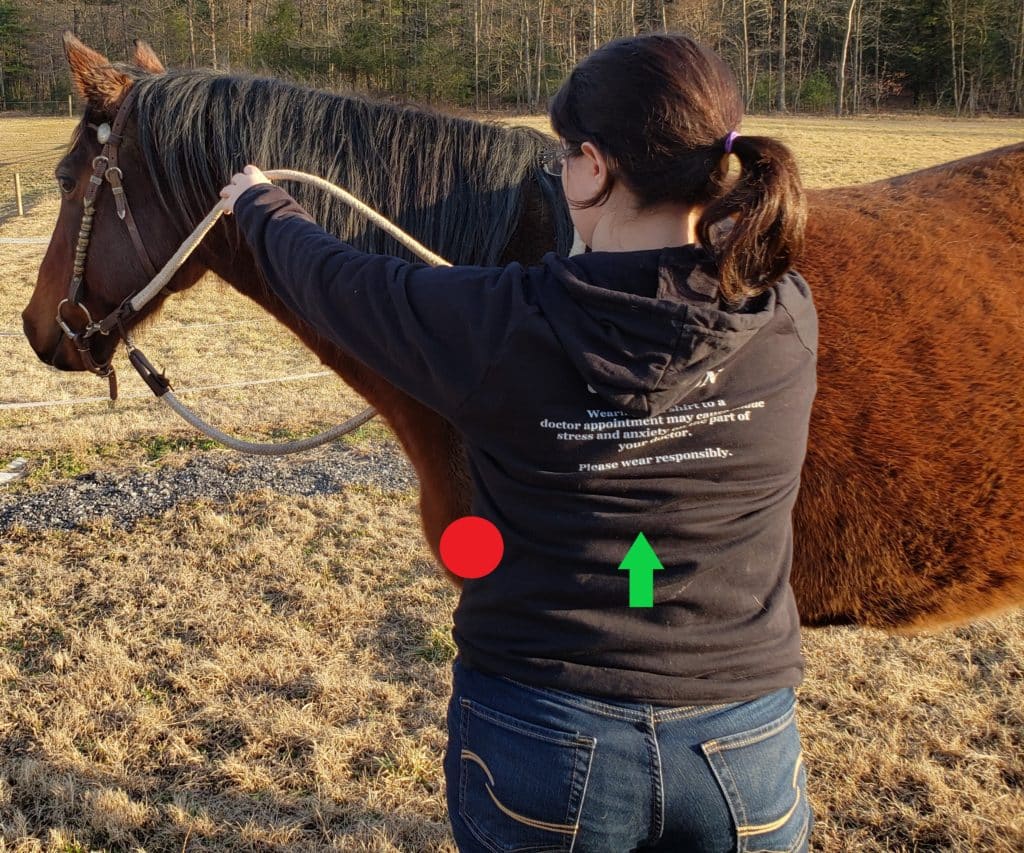
It is also important to keep your hand–in this case (Figure A) it is my right hand–on the horse’s withers or back. This lets you feel when the topline starts to relax. It can give you early indications of how things are progressing even if it doesn’t look like you’re making too much progress.
Alternate Positioning for a “Forward” Horse
Now, there will be some horses who are known to be very forward. They just don’t appreciate being asked to stand in one place, much less being asked to think while standing in one place. For these horses, It is best to stand slightly forward of the shoulder (red dot, Figure B) with your hips angled towards the rear. From this position, your energy (green arrow, Figure B) is directed backward, countering your horse’s desire to move forwards and cutting his own energy off. However, it is important to note that you should never attempt to physically block the horse’s forward motion with your body because you will get hurt. If your horse absolutely refuses to stay where you ask him to, he probably needs more time on the lunge line to calm down and relax enough for him to benefit from this work.
Alternate Positioning for a “Backward” Horse
Some horses who have already had training on how to give to pressure will automatically back away from the slightest amount of pressure when it is applied. This is a common mistake on the horse’s part. This can usually be easily counteracted by positioning yourself behind the horse’s shoulder facing forward (Figure C). Remember, the direction of your hips decides the direction of your energy. If you direct your energy forward towards the horse’s shoulder, this signals to him that backing up is not the answer you are looking for.
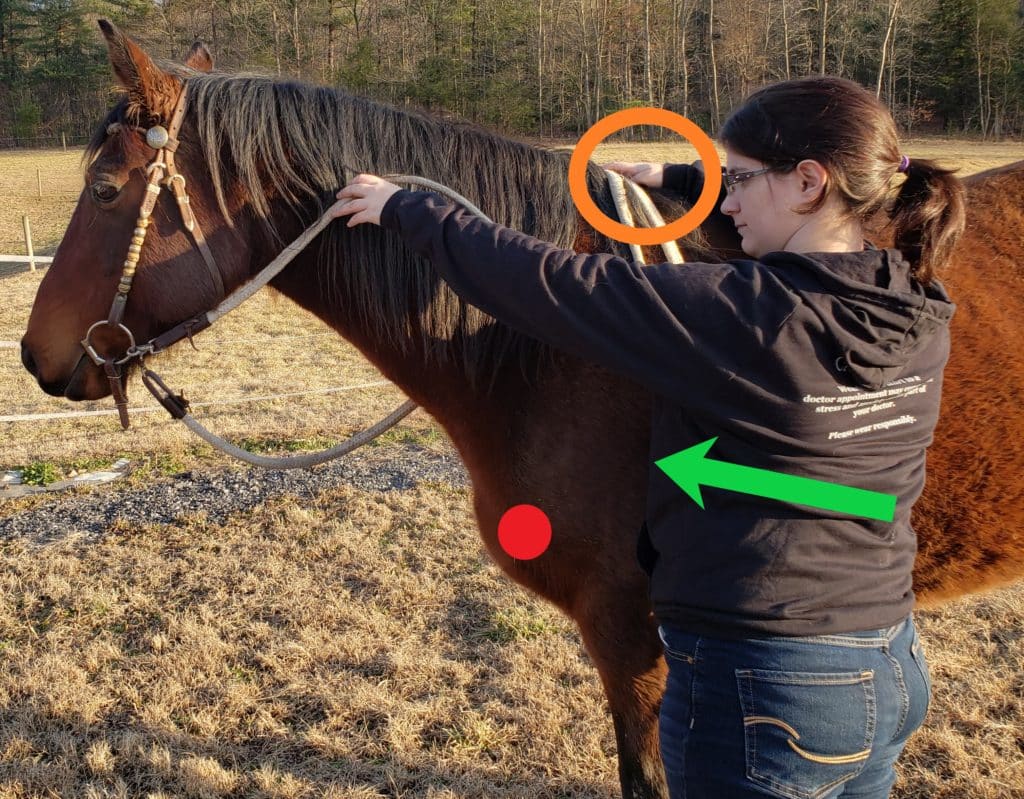
Bear in mind, you may have to play with your positioning a little bit. You should always start out in the neutral position (Figure A) and only move in front of (Figure B) or behind (Figure C) the horse’s shoulder if he responds incorrectly when you apply the exercise. If you are behind the horse’s shoulder (Figure C) and he starts walking forward into the pressure, go back to the neutral position (Figure A) until he calms down. The same goes for if you are in front of the shoulder (Figure B) and he starts backing away from pressure too much. Returning to the neutral position (Figure A) takes the pressure off and allows him to relax.
Exercise: Vibrating the Rein to Release the Jaw
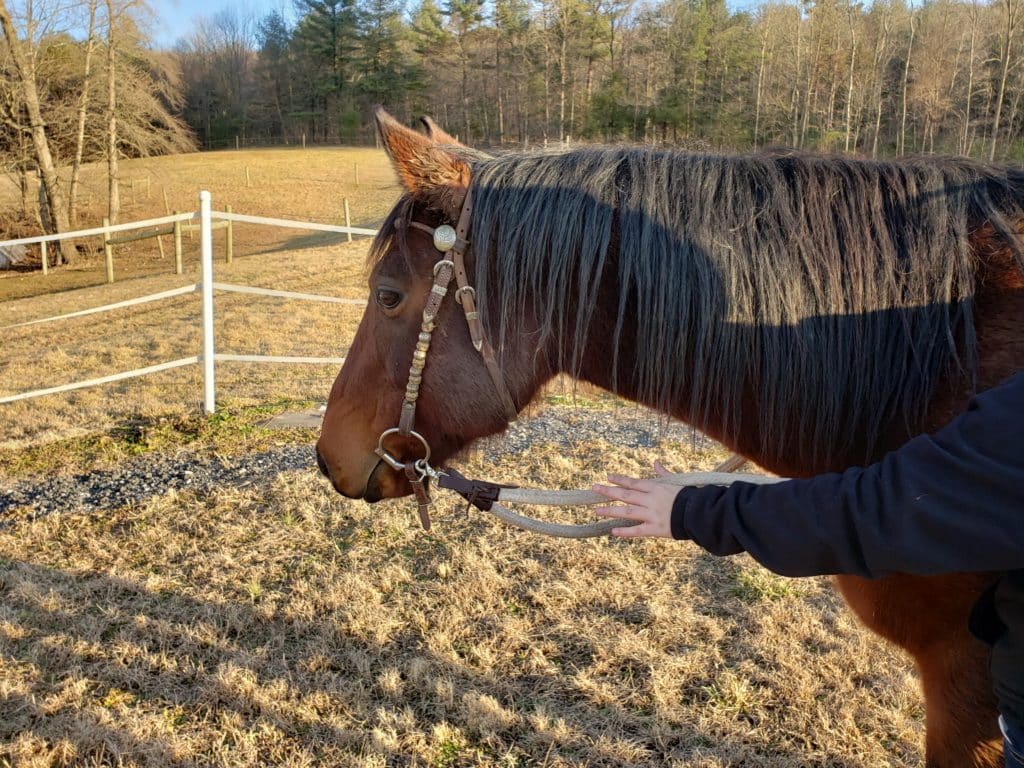
This exercise really only has one step; leaving the outside rein loose, pick up the inside rein so it slides up the ring of the snaffle and just makes contact. Then, with the lightest fingertip pressure, “vibrate” the rein by so you are just making contact with the corner of the horse’s mouth. It should be enough that the bit vibrates in the corner of the horse’s mouth slightly, but not enough to truly engage the bit in any significant way.
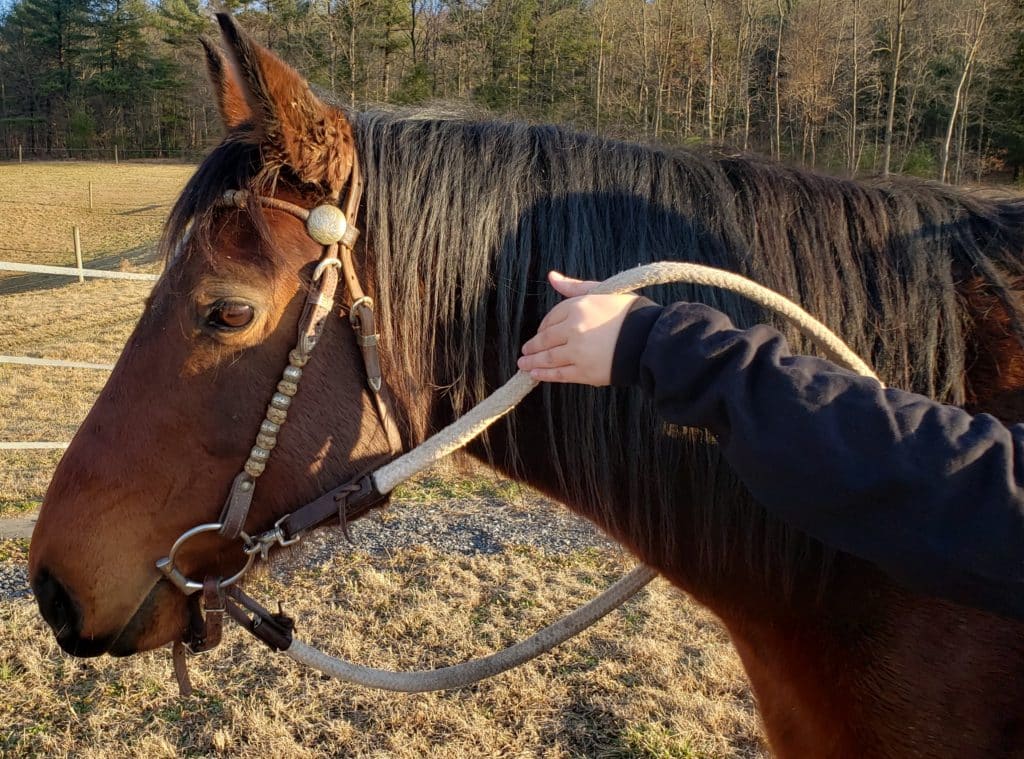
It takes time to get a response the first few tries. Many times, in horse training, if a horse doesn’t understand what we are asking for, we up the pressure. This is a case where you DO NOT up the pressure. Keep going with a feather-light touch. He’ll get it eventually. Patience is a virtue.
How do I know when he has released his jaw?
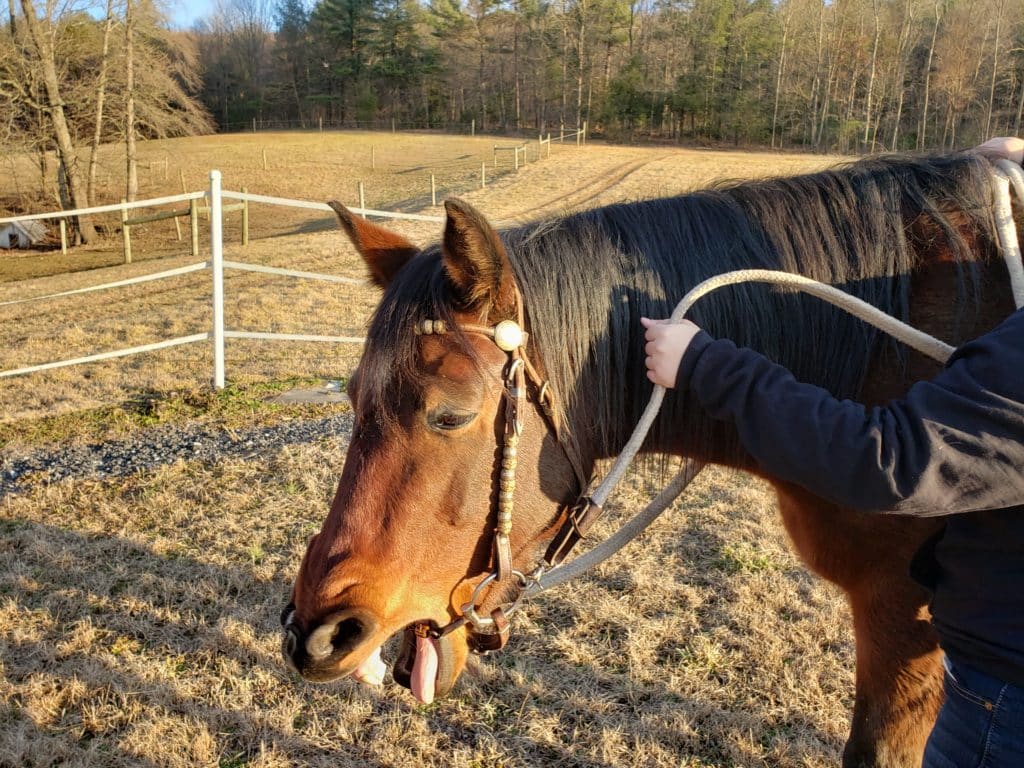
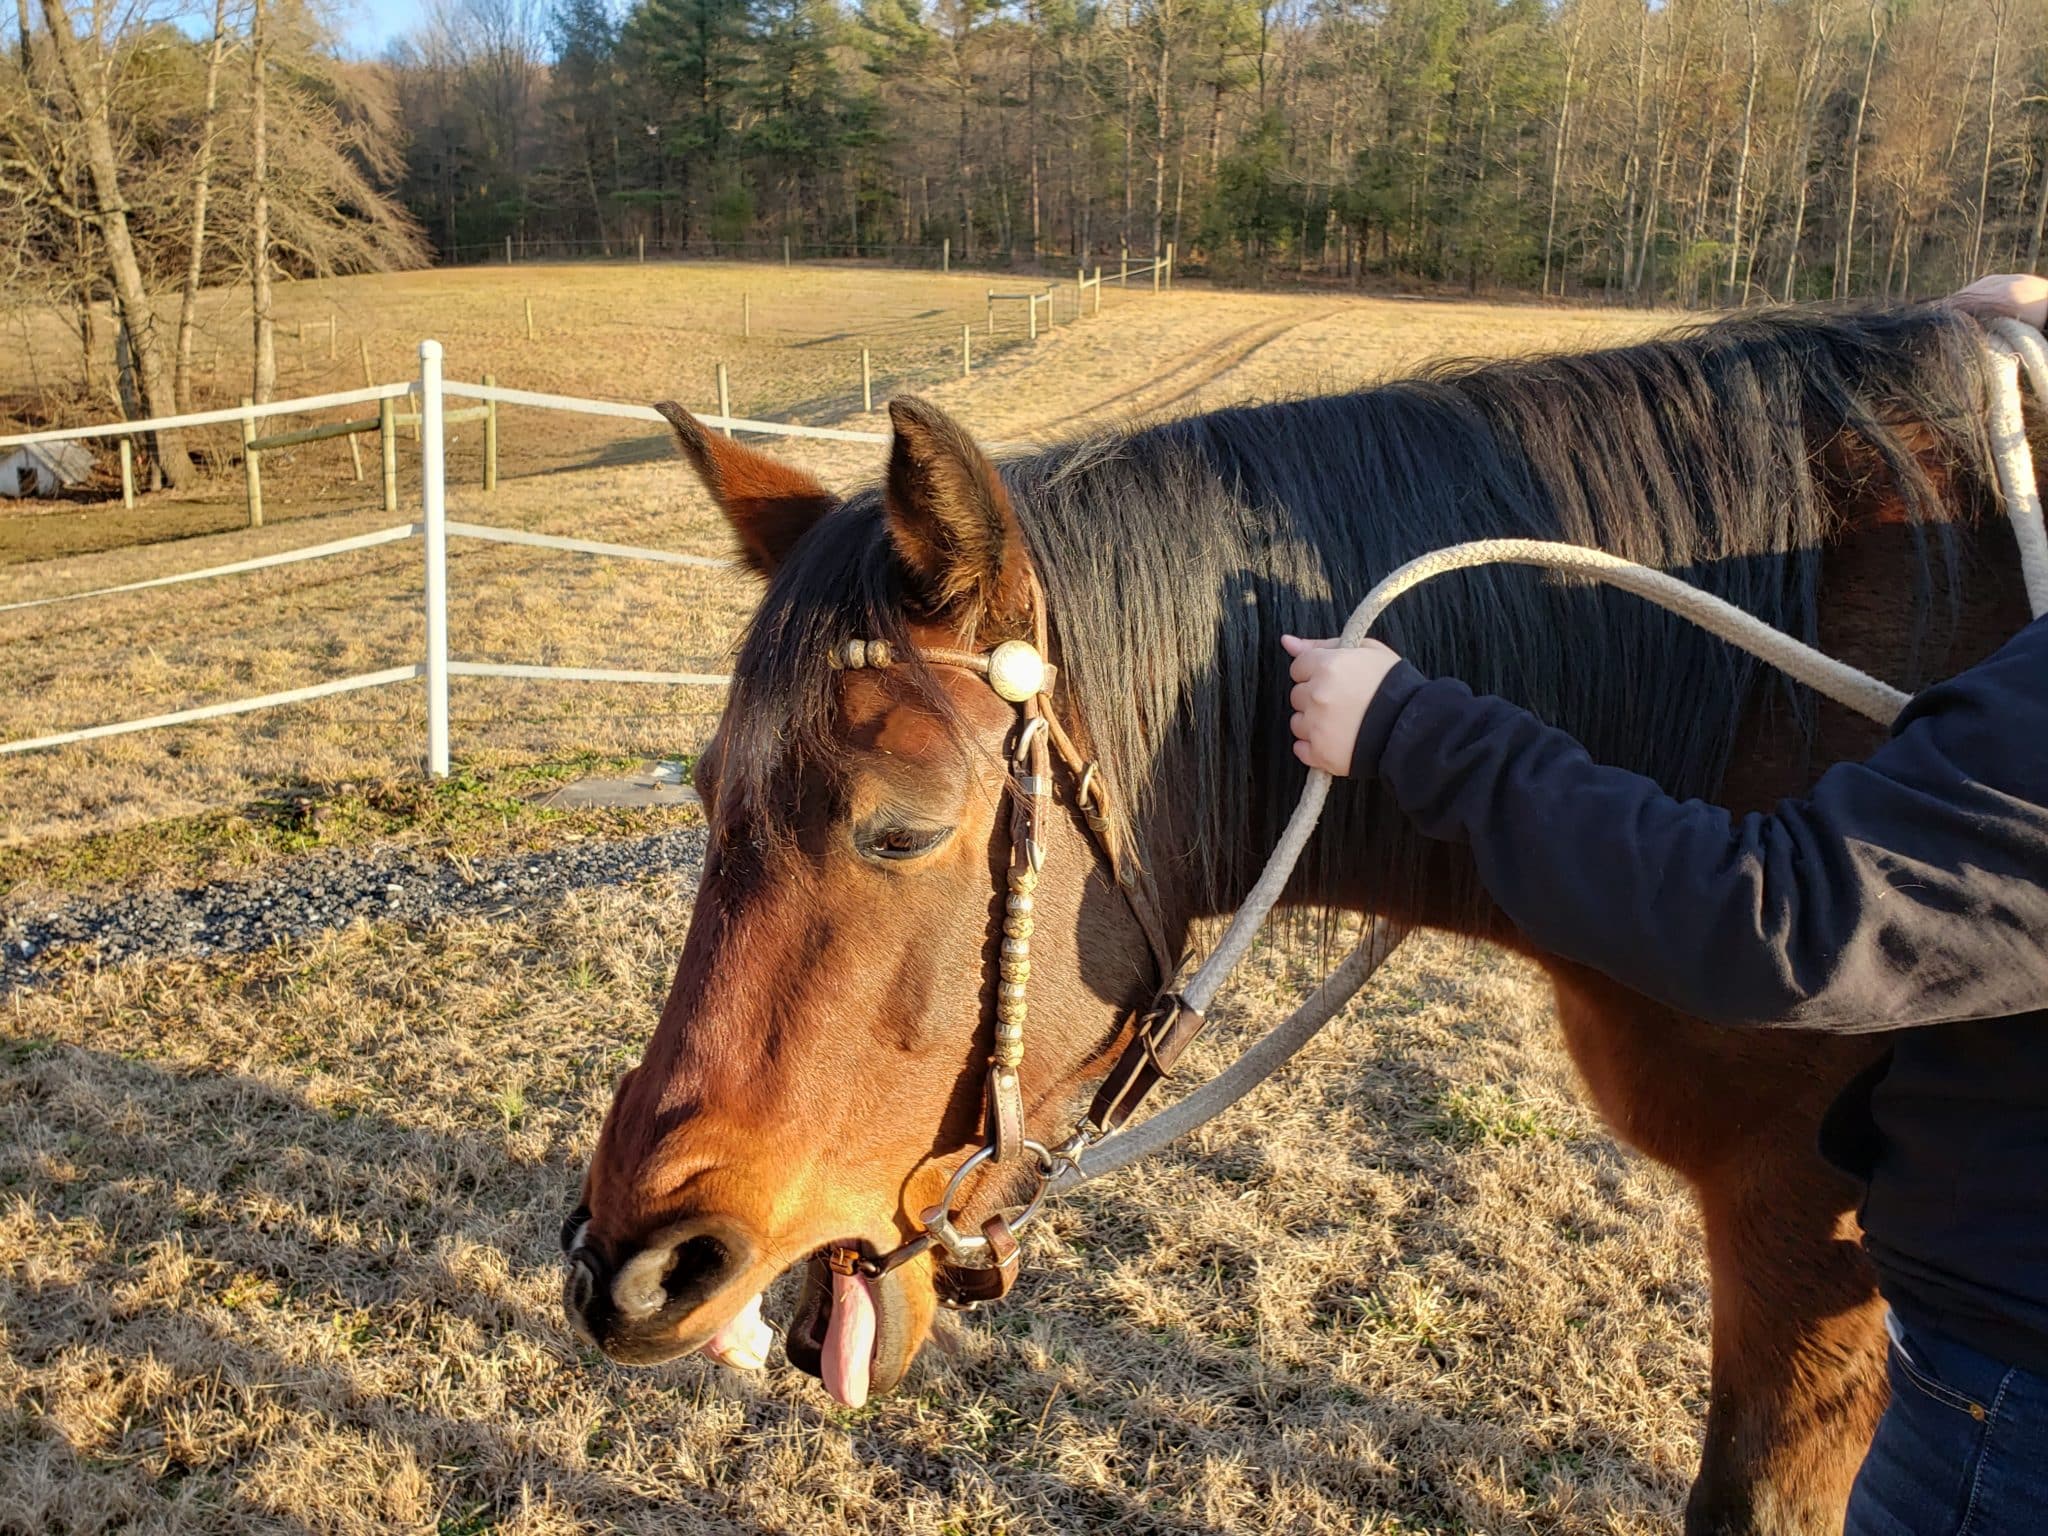
You’re looking for the horse to either lick and chew or yawn. Yes, that’s it. That’s all we’re asking for at this stage. It sounds simple enough, but it is harder than you might think. You should practice this exercise until your horse automatically releases his jaw when you vibrate the inside rein.
Common Horse Mistakes When Releasing the Jaw
1. Flexing laterally
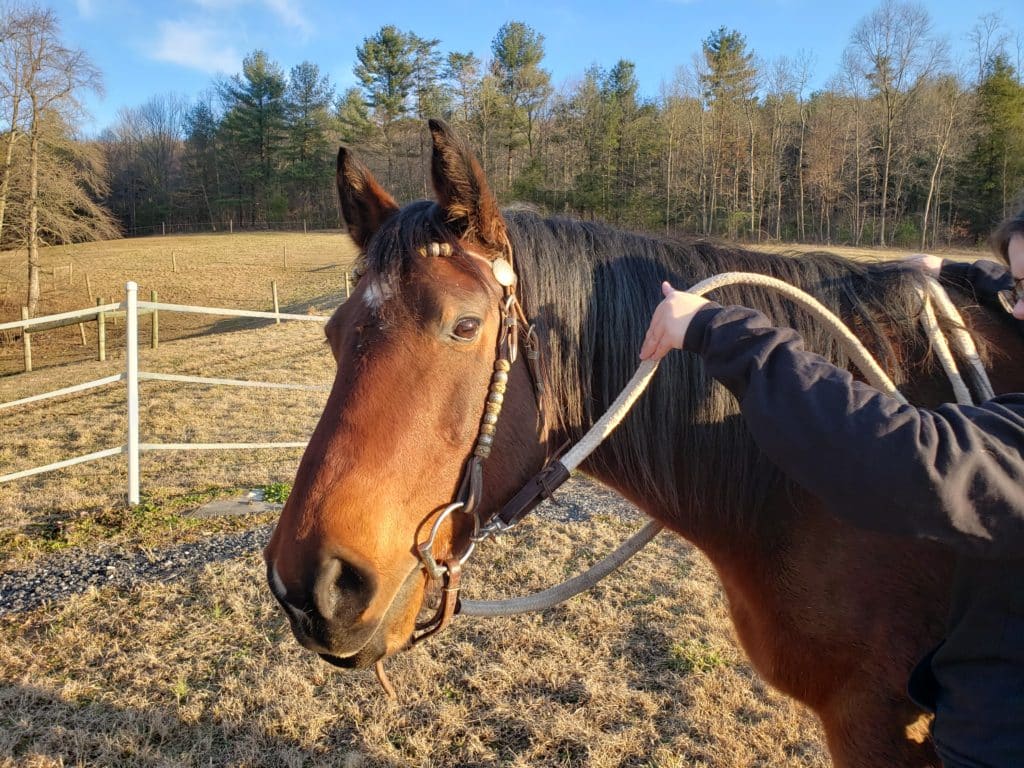
This is an especially common mistake made by horses who have already been taught some form of lateral flexion. Their first thought is probably going to be “oh, cool, I know this” followed by some degree of lateral flexion. Just follow his head and do your best to maintain the same amount of contact. This will let him know that this isn’t the correct answer.
2. Backing Up
Some horses may move from flexing to backing away from the pressure, especially if they have already been taught to back or give to the pressure of the bit. If positioning yourself behind the horse’s shoulder doesn’t stop this behavior, you may need to use a dressage whip. Make sure your horse is comfortable with the whip so it won’t spook him. All you want to do is lay it against his flank to remind him that you don’t want him to back up and he needs to find another solution. Remember this is an exercise in lightness and relaxation. Never do anything that will make him tense or spooked.
3. Pretending to Ignore You
Often, after giving a few wrong answers, the horse will stand there and pretend to ignore you. He’ll act like there is something really interesting off in another direction and just stand there staring at it. Ignore him. Keep going. He’ll give it up eventually.
Common Trainer Mistakes When Releasing the Jaw
1. Not being patient enough
Releasing the jaw seems like a rather simple exercise, but, in reality, it is a fairly advanced concept for the horse to grasp. There is no escalation of pressure to help the horse figure out what you want. He is being asked to soften to the lightest touch. If you have a really stiff horse, that’s not going to be easy to accomplish.
2. Not practicing the exercise on both sides
Remember, horses don’t always transfer what they learn from one side to the other as people do. Even if he has mastered the exercise on the left side, you still have to start from square one on the right side. Always practice these exercises on both sides of the horse or you will end up over-developing the horse on one side which will cause major problems down the road.
3. Repeating the exercise too many times
This is a surprisingly hard concept for many horses to grasp. However, once you get your horse to do it once, don’t keep asking him to do it over and over again. Horses don’t learn through repetition like people due. They learn through the release of pressure. Once your horse gets it once on one side, move to the other side. Once he gets it on the other side, move on to something else or call it a day. You will be surprised how much faster your horse picks the exercise up if you’re not constantly making him do it over and over again.
Troubleshooting for Releasing the Jaw
My horse is so stiff that I can stand here vibrating the rein for half an hour and he just doesn’t get it.
DO NOT up the pressure. This will be your first instinct. It was my first instinct too, but it won’t bring you any closer to your goal. Most horses will get it eventually. However, there are some who have been cranked on to the point that they are so resistant to the bit that they will not acknowledge that level of light pressure. These horses need more time on the lunge line. Check out my tutorial on proper lunging for relaxation.
